Proper Drainage Solutions: 7 Best Outdoor Planter Ways
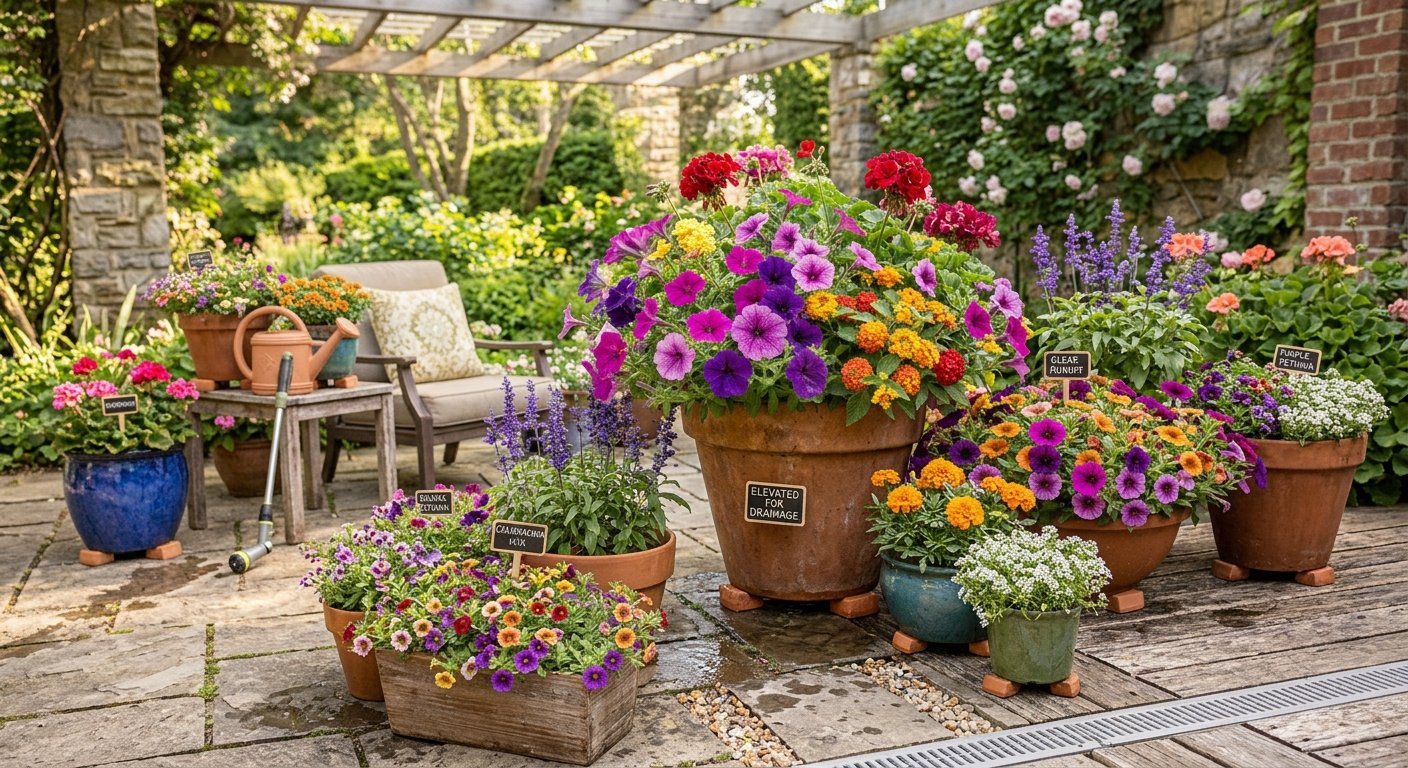
Proper drainage solutions are the ultimate essential strategy every US plant enthusiast needs to protect outdoor container gardens from destructive root rot, soil waterlogging, and pot damage. Containers left on outdoor patios, decks, and balconies face heavy rainstorms and fluctuating weather that can quickly drown root systems if excess water cannot escape freely.
Mastering proper drainage solutions enables you to maintain ideal air-to-water ratios inside potting media, ensuring plant roots absorb moisture without suffocating in stagnant water pools. Instead of watching expensive patio trees and flowering annuals yellow and die from oversaturated soil, installing correct drainage mechanics guarantees long-term plant health.
Implementing expert guidelines for proper drainage solutions ensures your outdoor botanical displays remain vibrant, structurally sound, and remarkably healthy through every season. Let us explore the core science of soil porosity, pot elevation rules, and a foolproof 7-step container drainage framework tailored for modern US households.
Table of Contents
- Key Takeaways
- The Science of Soil Hydrodynamics and Oxygen Exchange
- Drilling and Sizing Functional Bottom Drainage Holes
- Step-by-Step Drainage Elevation and Pot Feet Setup
- Outdoor Planter Drainage Comparison Matrix
- 7 Best Ways to Execute Proper Drainage Solutions for Outdoor Planters
- Avoiding Gravel Layers and Perched Water Tables
- Conclusion
- Frequently Asked Questions
Key Takeaways
- Drill Adequate Drainage Holes: Ensure every outdoor pot has at least one 1/2-inch to 1-inch bottom hole for every 10 inches of container diameter.
- Elevate Planters Off Ground: Use pot feet or rubber risers to prevent surface tension from sealing drainage holes against flat patio stones.
- Avoid Gravel at Bottom: Adding gravel to pot bottoms actually creates a perched water table, raising standing water closer to plant roots.
- Use Porous Potting Media: Mix coarse perlite, pumice, or pine bark into soil blends to maintain open air channels throughout the root zone.
- Protect Patio Flooring: Utilize saucers with internal ridges or drainage trays to collect runoff without locking moisture underneath containers.
The Science of Soil Hydrodynamics and Oxygen Exchange
Understanding proper drainage solutions starts with examining how water movement and air saturation directly influence underground root respiration.
When excess rainwater fills every pore space within potting soil, oxygen is pushed out, causing anaerobic conditions that drown plant roots.
Providing clear escape routes for gravitational water allows fresh air to enter the root zone immediately after heavy rainstorms pass.
Drilling and Sizing Functional Bottom Drainage Holes
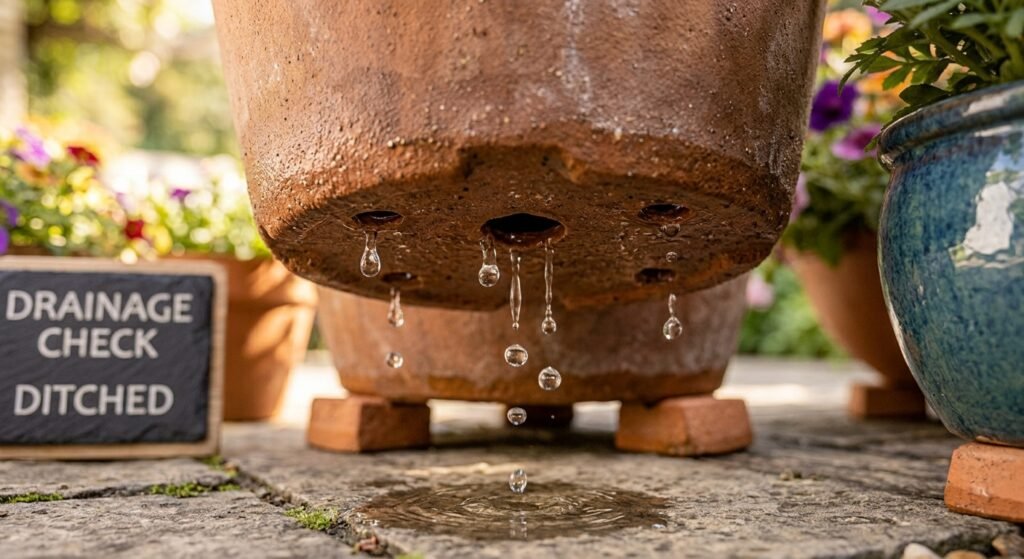
Implementing proper drainage solutions requires inspecting decorative outdoor pots to confirm they feature functional bottom exit points before planting.
Many decorative resin, plastic, or ceramic containers arrive without pre-drilled holes, requiring custom drilling using masonry or step drill bits.
Multiple medium-sized holes spaced evenly across container bases provide far superior drainage performance than a single tiny central aperture.
Step-by-Step Drainage Elevation and Pot Feet Setup
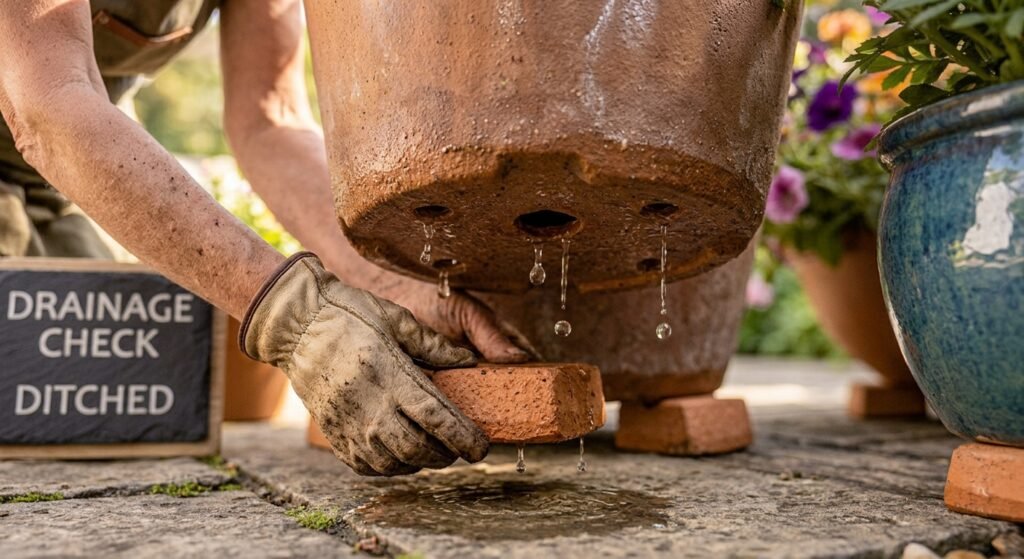
Mastering proper drainage solutions involves lifting heavy outdoor planters slightly off flat patio surfaces to prevent suction seals.
Placing flat-bottomed containers directly onto concrete decks traps water beneath the base, clogging drainage holes and staining patio stones.
Position three to four terracotta pot feet or durable rubber wedges beneath container rims to allow water to flow away unimpeded.
Outdoor Planter Drainage Comparison Matrix
The comparison table below outlines drainage techniques, runoff effectiveness, and risk profiles for outdoor container gardening:
| Drainage Technique | Runoff Rate | Root Aeration Level | Perched Water Risk | Best Outdoor Application |
| Pot Feet Elevation | Exceptionally High | Maximum | Very Low | Heavy Patio Planters |
| Perlite Soil Amending | High & Balanced | Superior | Extremely Low | All Potting Mixtures |
| Mesh Drainage Disks | Unobstructed | High | Zero | Base Hole Lining |
| Bottom Gravel Layer | Poor / Obstructed | Low | Exceptionally High | Discontinued Practice |
7 Best Ways to Execute Proper Drainage Solutions for Outdoor Planters
Follow this comprehensive framework to successfully implement proper drainage solutions across all your outdoor container gardens:
               [Inspect Outdoor Container Base for Drainage Holes]
                                       |
         +-----------------------------+-----------------------------+
         |                                                           |
[Drill Additional 1/2-Inch Apertures]               [Line Hole Base With Landscape Mesh Disks]
         |                                                           |
(Ensure rapid gravitational water exit)             (Prevent potting soil from washing out)
         |                                                           |
         v                                                           v
Elevate pots on durable pot feet risers,    Use perlite-enriched fast-draining potting soil,
enjoy zero root rot & healthy root systems   enjoy thriving long-term outdoor planters
1. Verify and Drill Adequate Exit Holes
Inspect pot bottoms and drill multiple 1/2-inch holes if pre-existing apertures are absent or too small.
2. Elevate Pots Using Terracotta Pot Feet
Lift heavy planters 1/2 inch off flat ground surfaces using pot feet to break suction seals and ensure free water runoff.
3. Cover Holes With Landscape Mesh Disks
Place porous fiberglass mesh screens over interior bottom holes to retain soil while allowing water to flow freely.
4. Blend Coarse Amendments Into Soil
Mix 20% to 30% coarse perlite, pumice, or pine bark nuggets into your potting media to maximize internal pore space.
5. Eliminate Bottom Gravel Layer Myth
Never fill pot bases with rocks or gravel, as this elevates the saturation level directly into active root zones.
6. Clear Blocked Drainage Holes Annually
Inspect bottom drainage apertures during spring repotting, clearing out intrusive root mats or compacted mud.
7. Empty Decorative Saucers Post-Rainfall
Discard standing water from saucers or collection trays within two hours after rainstorms to stop water re-absorption.
Avoiding Gravel Layers and Perched Water Tables
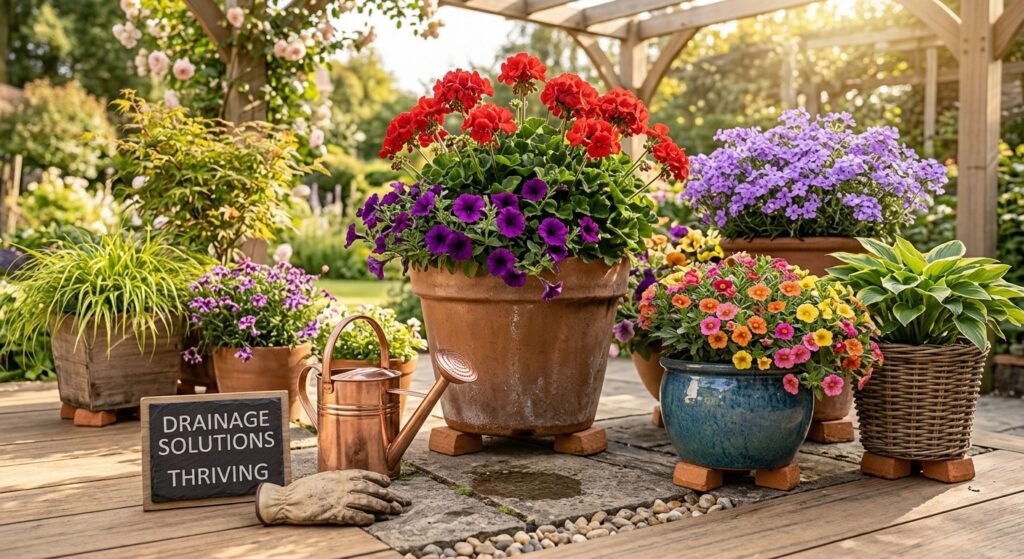
Executing proper drainage solutions requires abandoning the outdated gardening myth of placing gravel at the bottom of containers.
Physics dictates that water does not move easily from fine soil particles into coarse gravel until the soil above becomes completely saturated.
This creates a high perched water table inside your pot, keeping delicate plant roots submerged in soggy soil longer.
Conclusion
Mastering proper drainage solutions empowers you to safeguard your outdoor planters, eliminate root rot risks, and cultivate flourishing patio displays year-round. By ensuring adequate drainage holes, elevating containers on pot feet, and maintaining porous soil blends, you can elevate your outdoor gardening success.
Inspect your outdoor containers today, apply these 7 best drainage ways, and enjoy your flourishing garden sanctuary!
Frequently Asked Questions
Why is water not draining out of the bottom of my outdoor planter?
Water gets trapped if drainage holes are absent, clogged with mud or roots, or sealed flat against non-porous patio surfaces.
Should I put rocks in the bottom of outdoor planters for drainage?
No, putting rocks or gravel in the bottom of pots raises the water table and increases root rot risk; use porous potting soil throughout instead.
How do I stop potting soil from leaking out of drainage holes?
Place a piece of plastic mesh screen, fiberglass insect netting, or a coffee filter over interior bottom holes before adding soil.