
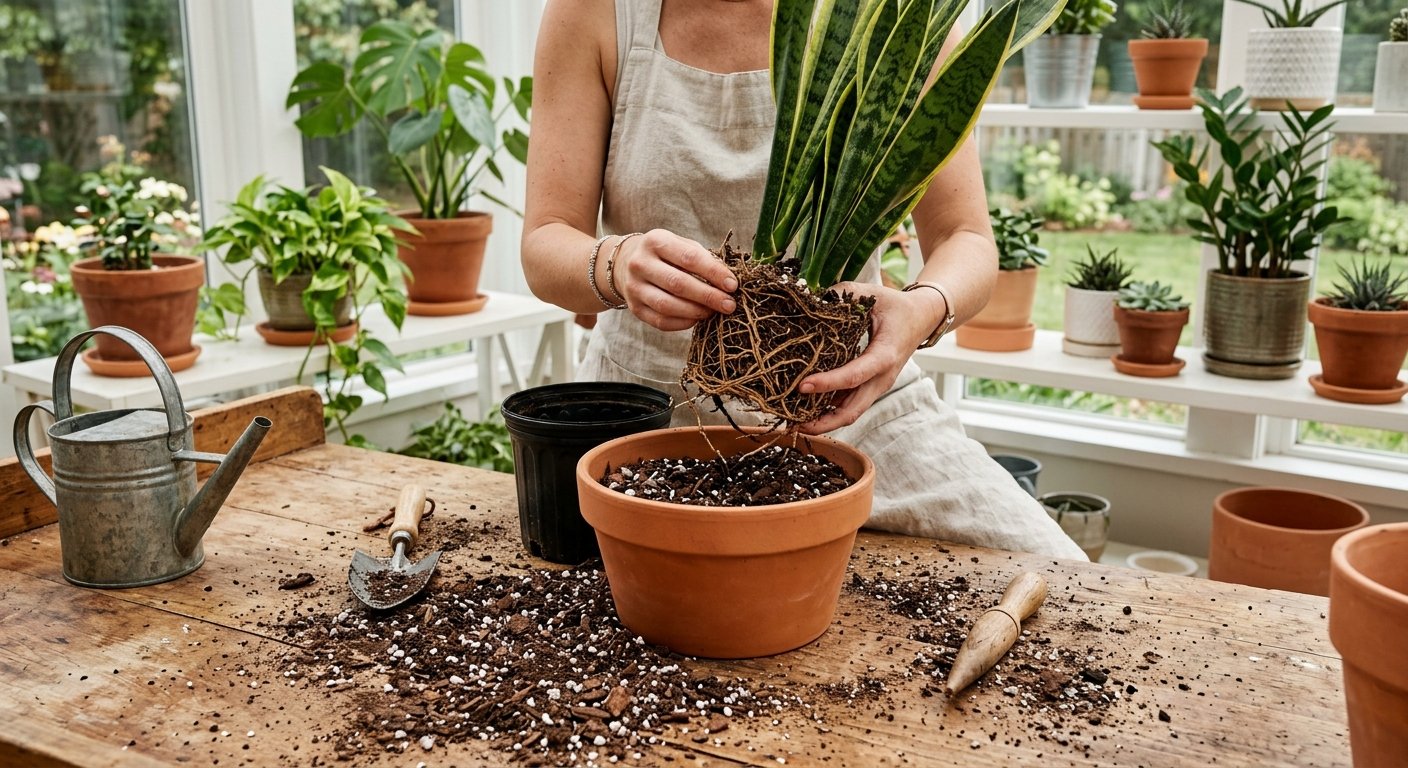
Repot Rootbound Houseplants: 7 Proven Steps to Prevent Shock
Repotrootbound houseplants requires a delicate balance of careful root management, proper soil selection, and gentle handling to ensure your green specimens transition smoothly into their new containers across US homes. When indoor plants outgrow their pots, their root systems circle tightly around the interior walls, suffocating the root mass and depleting vital soil nutrients.
Mastering how to repot rootbound houseplants allows plant enthusiasts to revive stagnant growth, improve water absorption, and restore lush vitality to struggling indoor foliage. Instead of letting compacted roots choke your favorite monsteras, pothos, or ferns, timely root intervention gives your plants the breathing room they need to thrive.
Implementing expert-backed techniques when you repot rootbound houseplants prevents severe transplant shock and encourages vigorous new root development. Let us explore the core indicators of root-bound distress, essential soil requirements, and a foolproof 7-step repotting framework.
Table of Contents
- Key Takeaways
- Recognizing the Signs of a Rootbound Houseplant
- Choosing the Right Pot Size and Soil Mix
- Root-Teasing and Shock Prevention Techniques
- Repotting Methods Comparison Matrix
- 7 Proven Steps to Repot Rootbound Houseplants Safely
- Post-Repotting Care and Recovery
- Conclusion
- Frequently Asked Questions
Key Takeaways
- Scale Up Gradually: Move rootbound plants into a pot only 1 to 2 inches larger in diameter to prevent soil waterlogging.
- Tease Tangled Roots: Gently loosen tightly wrapped root balls to stimulate outward growth into fresh potting mix.
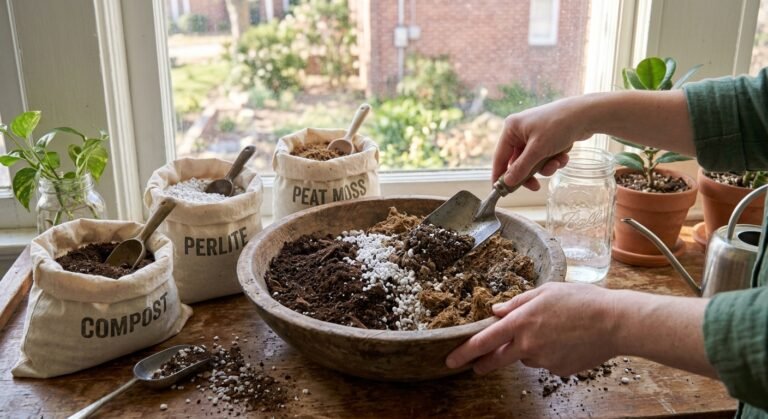
- Use Well-Draining Soil: Select premium indoor potting mixes enriched with perlite or orchid bark to ensure optimal aeration.
- Water Thoroughly After: Drench the soil immediately post-repotting to settle air pockets around the newly freed roots.
- Skip Immediate Fertilizing: Wait at least four to six weeks before fertilizing newly repotted plants to avoid chemical root burn.
Recognizing the Signs of a Rootbound Houseplant
Before you repot rootbound houseplants, you must accurately diagnose whether your plant has genuinely outgrown its current container.
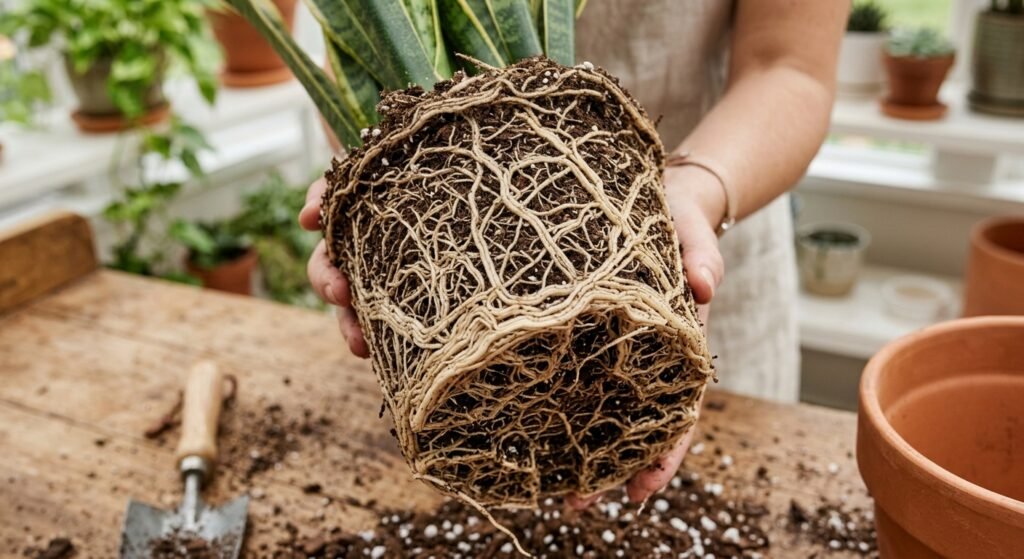
Common warning signs include roots circling out through bottom drainage holes, water running straight through the pot without soaking the soil, and stunted leaf growth.
If your plant dries out within a single day after watering, its root mass has likely consumed all available potting medium.
Choosing the Right Soil Mix and Pot Size
Selecting appropriate materials is critical when you repot rootbound houseplants to ensure long-term structural health.
Always choose a container that is only 2 inches wider than the previous pot; upgrading to an excessively large pot leaves too much wet soil around the roots, triggering root rot.
Root-Teasing and Shock Prevention Techniques
Mitigating transplant shock when you repot rootbound houseplants requires patience and gentle physical manipulation of the root ball.
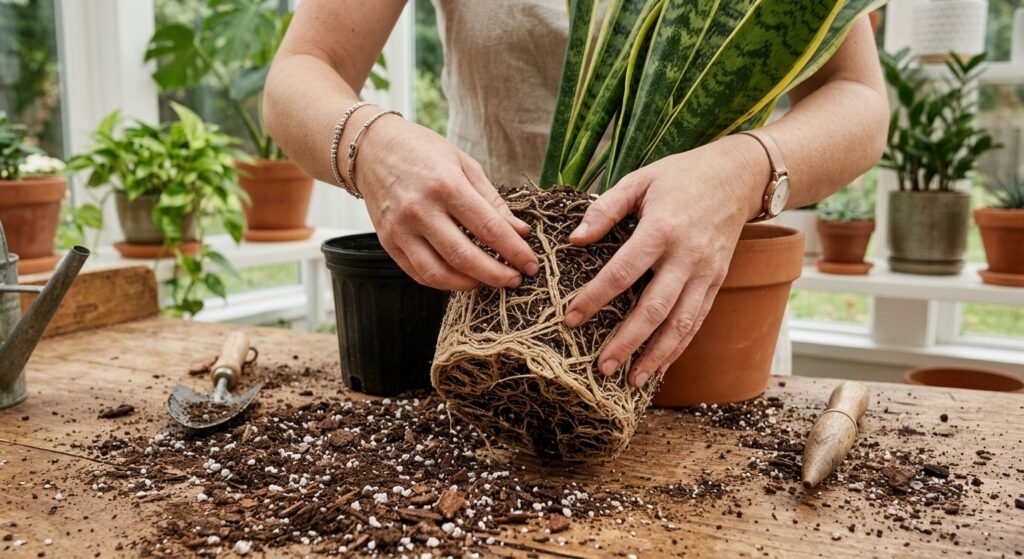
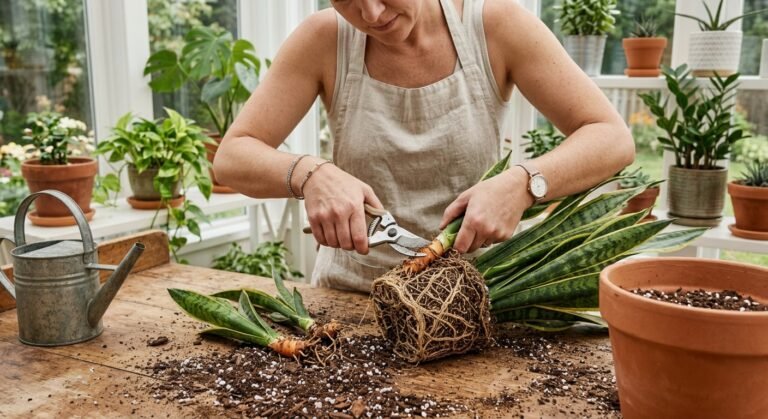
Use your fingers to gently massage the outer perimeter of the root mass, teasing apart tightly bound loops so they can reach outward into fresh nutrients.
For severely rootbound specimens, making three or four vertical slices down the sides of the root ball with a clean knife encourages outward branching.
Repotting Methods Comparison Matrix
The comparison table below outlines different root intervention methods, recovery timelines, and shock risk levels:
| Root Condition | Recommended Action | Recovery Timeline | Shock Risk Level | Best Plant Suitability |
| Mildly Bound | Gentle finger loosening at edges | 7 to 10 Days | Low Risk | Pothos, Philodendrons |
| Moderately Bound | Unwinding outer roots & trimming | 14 to 21 Days | Moderate Risk | Monsteras, Ficus |
| Severely Bound | Vertical root slicing & pruning | 3 to 4 Weeks | Higher Risk | Snake Plants, Palms |
| Root Rot Damaged | Rinse roots, snip decayed sections | 4 to 6 Weeks | High Risk | Calatheas, Ferns |
7 Proven Steps to Repot Rootbound Houseplants Safely
Follow this step-by-step framework to safely transition your rootbound plants into fresh new containers:
               [Water Plant 24 Hours Prior]
                             |
         +-------------------+-------------------+
         |                                       |
[Gently Slide Out Root Ball]             [Tease & Loosen Tight Roots]
         |                                       |
(Tap pot edges to release)               (Prune dead or circling roots)
         |                                       |
         v                                       v
Place in fresh soil layer,               Water thoroughly to settle
fill gaps, and tamp lightly              mix and eliminate air pockets
1. Water Your Plant 24 Hours Prior
Hydrate your plant a day before repotting to make the root system pliable and reduce cellular stress during handling.
2. Gently Slide the Plant Out
Tilt the pot sideways, support the base of the stems, and gently tap the container walls to slide the root ball free.
3. Inspect and Clean the Roots
Brush away old, depleted soil and examine the root ball for any dark, mushy, or decaying sections that require trimming.
4. Tease and Loosen Tangled Roots
Use your fingers to gently unwind circling roots, encouraging them to point outward toward the upcoming fresh soil.
5. Prepare the New Container Base
Add a 1-inch layer of fresh, well-draining potting mix to the bottom of your new pot, ensuring proper functional drainage holes.
6. Position and Fill Fresh Soil
Center the plant in the new pot, maintaining its original soil depth, and fill surrounding gaps with fresh potting mix.
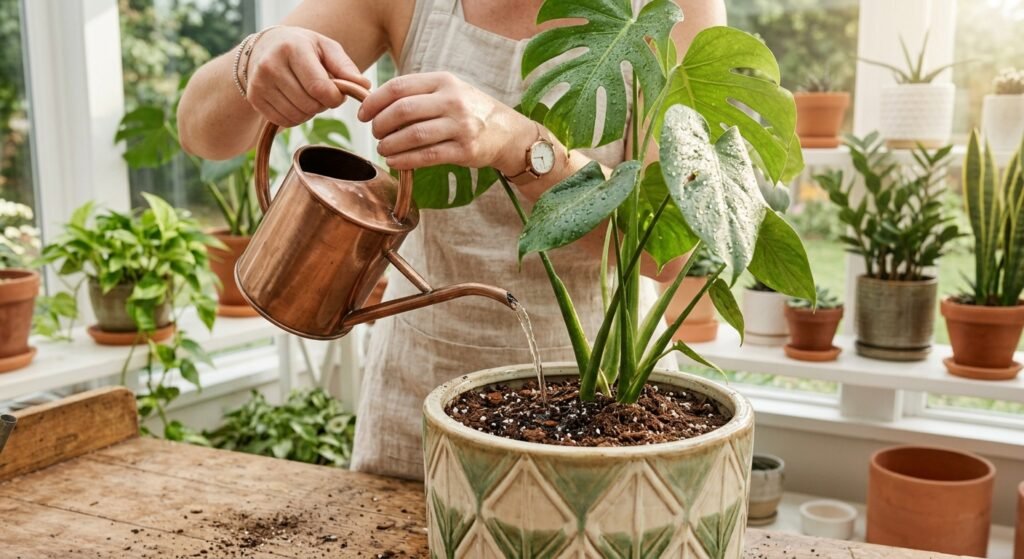
7. Water Thoroughly to Settle Soil
Drench the soil immediately after repotting to eliminate hidden air pockets and help the root system anchor securely.
Post-Repotting Care and Recovery
After you repot rootbound houseplants, your plants will undergo a brief adjustment period as they adapt to their larger environment.
Keep your freshly repotted plants in a warm room with bright indirect sunlight, avoiding harsh direct sun rays for the first two weeks.
Monitor soil moisture closely, allowing the top couple of inches to dry out before watering again to prevent accidental overhydration.
Conclusion
Mastering how to repot rootbound houseplants ensures your indoor botanical collection continues to flourish with vibrant health and vigor. By recognizing rootbound symptoms, using proper soil mixes, and practicing gentle root-teasing techniques, you can eliminate transplant shock entirely.
Inspect your indoor plant pots today, apply these 7 proven repotting steps, and enjoy a thriving indoor garden!
Frequently Asked Questions
How do I know if my houseplant is truly rootbound?
A houseplant is rootbound when its roots emerge densely from bottom drainage holes, form tight circles around the soil ball, or cause water to run straight through without absorbing.
Should I fertilize immediately after repotting a rootbound plant?
No, you should wait at least 4 to 6 weeks before applying fertilizer. Fresh potting mix already contains ample nutrients, and added chemicals can burn sensitive recovering roots.
What causes transplant shock when repotting houseplants?
Transplant shock occurs when root systems experience excessive physical trauma, severe pruning, or drastic shifts in soil moisture and light exposure during the repotting process.


One Comment